If you’re running into a 404 on the IFrame on storybook the mostly likely cause is that your directory path to where storybook is contains some encoded characters. In this case we had a project called Agent%20Portal on disk. Renaming it to just AgentPortal fixed up storybook right away.
Building an SQL Azure Connection String using terraform
If you provision a database using terraform you often find that you need to get that connection string into app settings or key vault or something like that. To do that you first need to build it because the outputs from the database resource don’t include it.
From the database you want to export
output "database_name" {
  value = azurerm_sql_database.database.name
}
Then when you actually build the string you want something like this:
database_connection_string = "Server=tcp:${module.database.name}.database.windows.net,1433;Initial Catalog=${module.database.database_name};Persist Security Info=False;User ID=${var.database_user};Password=${var.database_password};MultipleActiveResultSets=True;Encrypt=True;TrustServerCertificate=False;Connection Timeout=30;"
Then you can push this to KeyVault or an App Service directly.
Deploying App Settings to an Azure Static Web App
Static web apps are pretty cool but certain parts of them feel like they are still a little raw. It is a newish product so I can understand that. I just wish the things that didn’t get attention were something other that devops things. That’s mostly because I’m so big on builds and repeatable processes. Being able to set app setting is one of the things I think falls through the cracks.
The docs for statics web apps suggests two different ways of setting app settings. First through the portal which we can ignore right out the gate because it is manual. The second is through an az command that actually just exercises a REST endpoint. No Arm support, no terraform support, no bicep support, no azure powershell support… a long way to go.
The az command takes in a specially formatted json file. My databse and connection string variables are set up as outputs from my terraform. Once I have them imported into my Azure DevOps build pipeline I use powershell to build the template file like so:
$temp = gc api/api/local.settings.template.json | ConvertFrom-Json
$temp.properties.STORAGE_CONNECTION_STRING = "$(terraformOutput.storage_connection_string)"
$temp.properties.DATABASE_CONNECTION_STRING = "$(terraformOutput.database_connection_string)"
$temp | ConvertTo-json > api/api/local.settings.template.json
Now this needs to be passed up to azure using the AzureCLI task
  - task: AzureCLI@2
    inputs:
    azureSubscription: 'Azure Sub'
    scriptType: 'pscore'
    scriptLocation: 'inlineScript'
    inlineScript: |
        gc api/api/local.settings.template.json
        az rest --method put --headers "Content-Type=application/json" --uri "/subscriptions/6da8d6e6-41f1-xxxx-xxxx-xxxxxxxx/resourceGroups/dev-portal/providers/Microsoft.Web/staticSites/dev-portal/config/functionappsettings?api-version=2019-12-01-preview" --body @api/api/local.settings.template.json
Vetur Warnings in Azure Static Web App
I have a static web app that has directories for the front end written in Vue and the back end written in Azure functions. When I open it in VS Code I get warnings that Vetur can’t find the package.json or tsconfig.json. This is because the Vue project isn’t at the project root. This can be fixed by adding, at the root, a vetur.config.js containing a pointer to the web project. With my web project being in web (creative I know) the file looks like
// vetur.config.js
/** @type {import('vls').VeturConfig} */
module.exports = {
    // **optional** default: `{}`
    // override vscode settings
    // Notice: It only affects the settings used by Vetur.
    settings: {
      "vetur.useWorkspaceDependencies": true,
      "vetur.experimental.templateInterpolationService": true
    },
    // **optional** default: `[{ root: './' }]`
    // support monorepos
    projects: [
      './web'
    ]
  }
Enable TeamCity Symbol Server
First off a symbol server is a server which stores the symbols from a built binary so you don’t have to ship out PDB files with your compiled code to be able to debug it. You can hook up visual studio to search a symbol server when you’re debugging so that you can drop into code for something like a shared nuget package. Teamcity, as it turns out, has a plugin to support being a symbol server. Here is how you get started with it:
- Install the symbol server plugin by going to Administration > plugins > Browse plugins repository and search for
symbol - On your build agents install the windows debugging tools which are shipped as part of the Windows SDK. For windows 10 you can grab it here: https://developer.microsoft.com/en-us/windows/downloads/windows-10-sdk/ During the install you’ll be prompted for which components you want to install and you can just turn off everything but the debugging tools.
- Remember to restart your build agents so they can register the debugging tools as being installed. You can check by going to the build agent in teamcity. Click on parameters
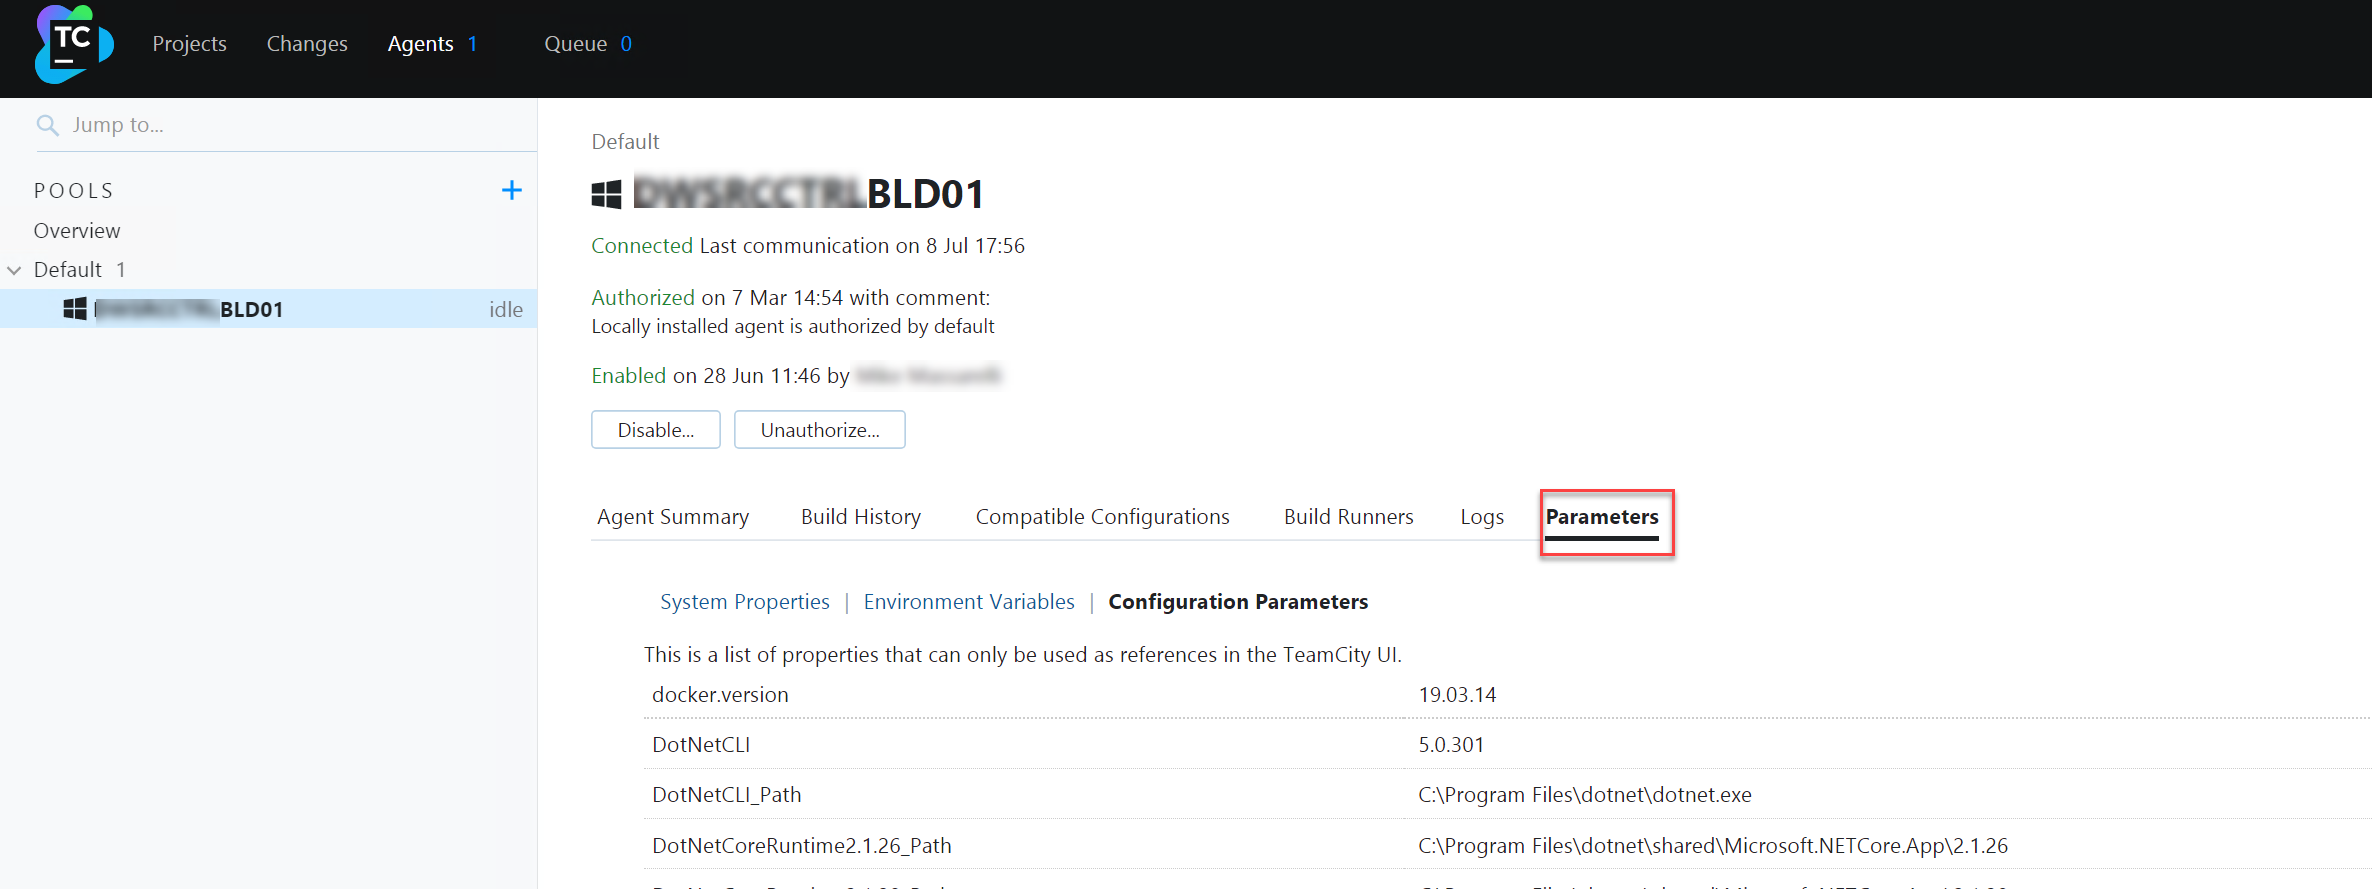
In there, at the bottom, you should find an entry for the debugger
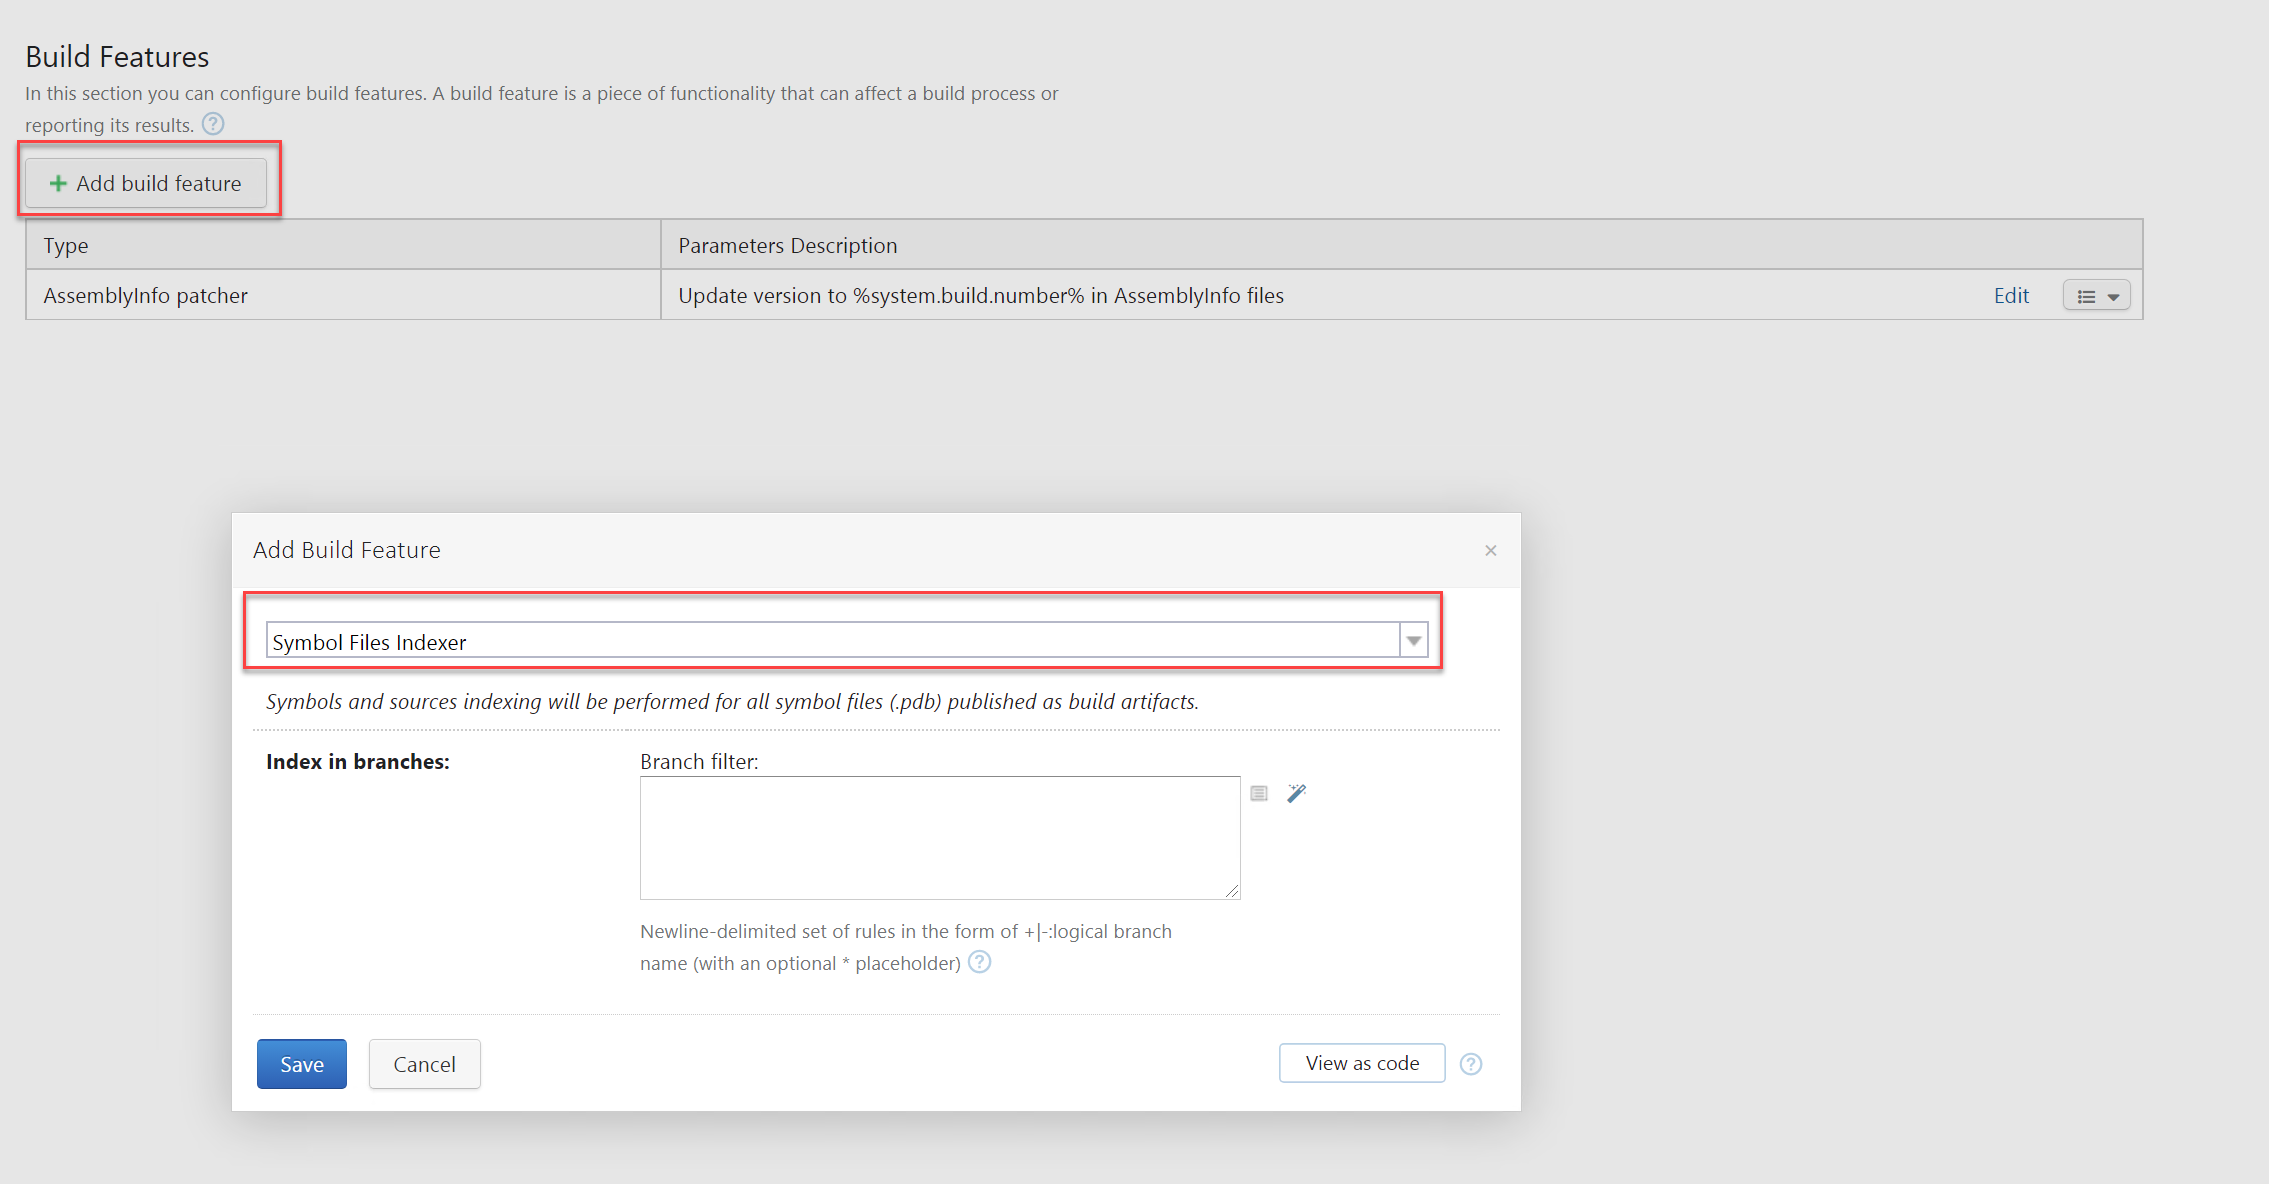
- In the projects you want symbols for enable the symbol server feature
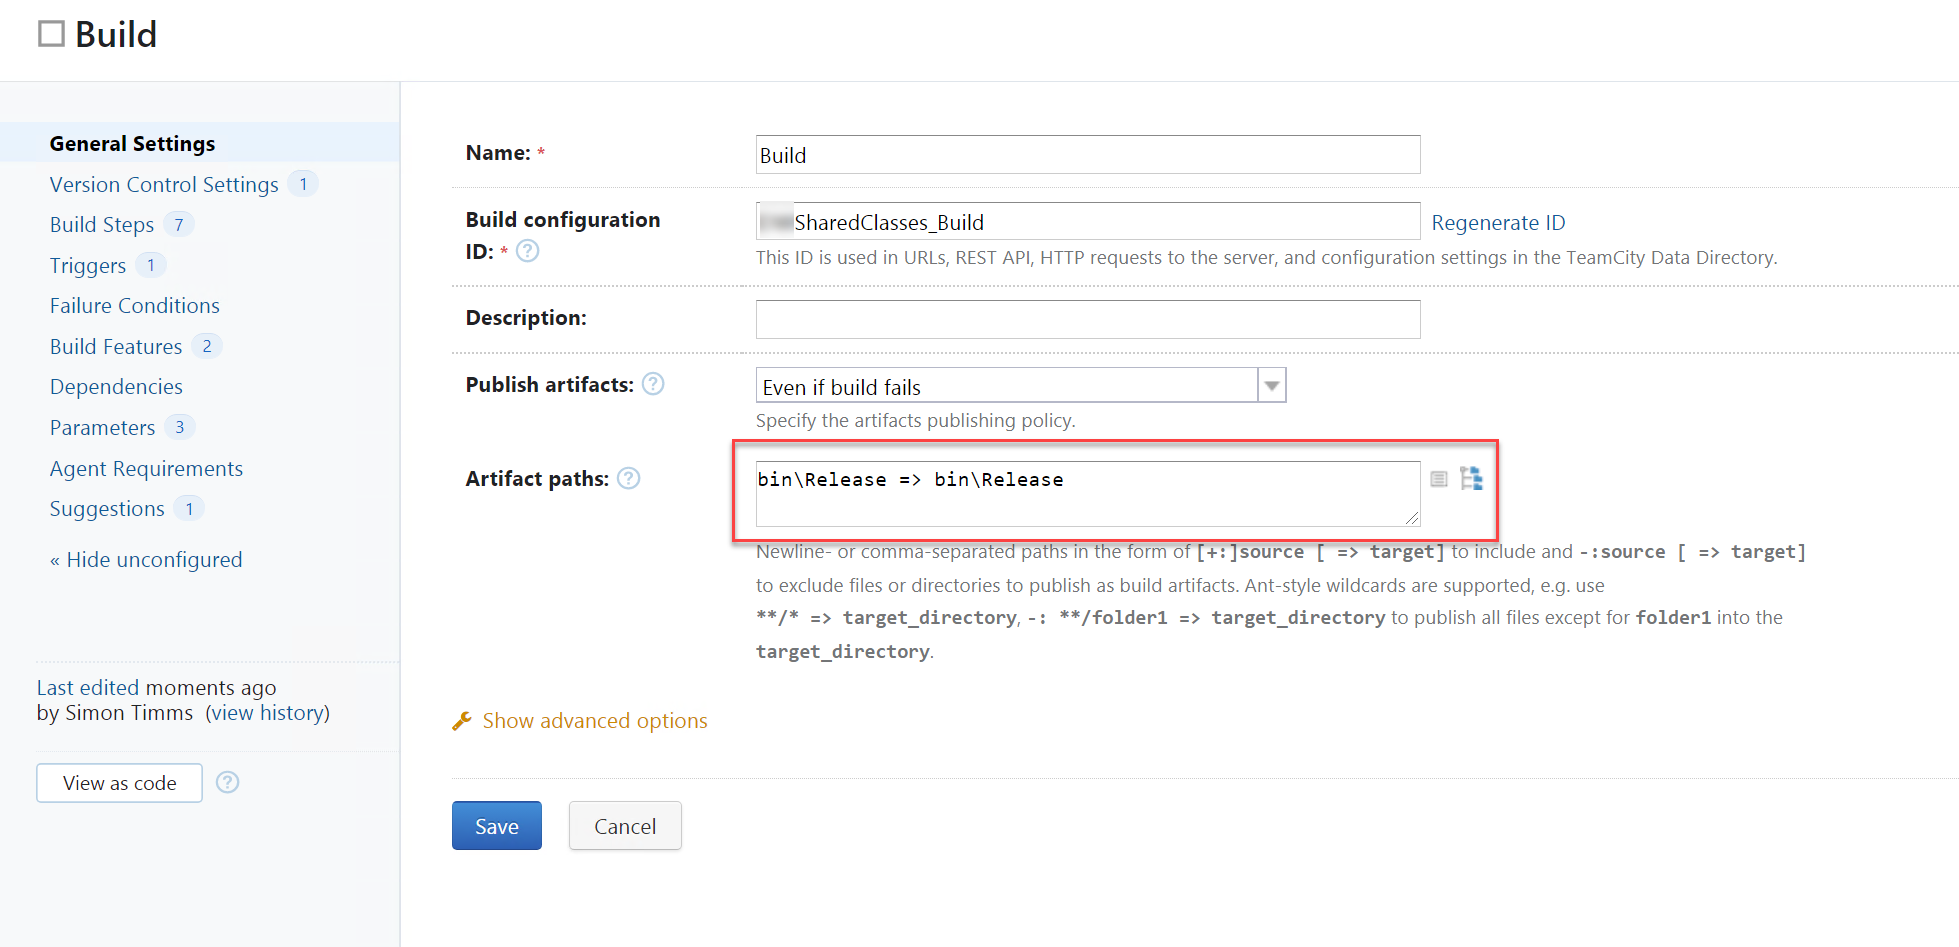
- In the build artifacts you need to ensure that both the PDB and the associated EXE or DLL are selected as artifacts.
That’s pretty much it. In your build now you should see a few log messages to let you know that the symbol server indexing is working
Now you can hook up Visual Studio to use this by going into settings and searching for symbols then paste the URL of the teamcity server with /app/symbols at the end of it into the box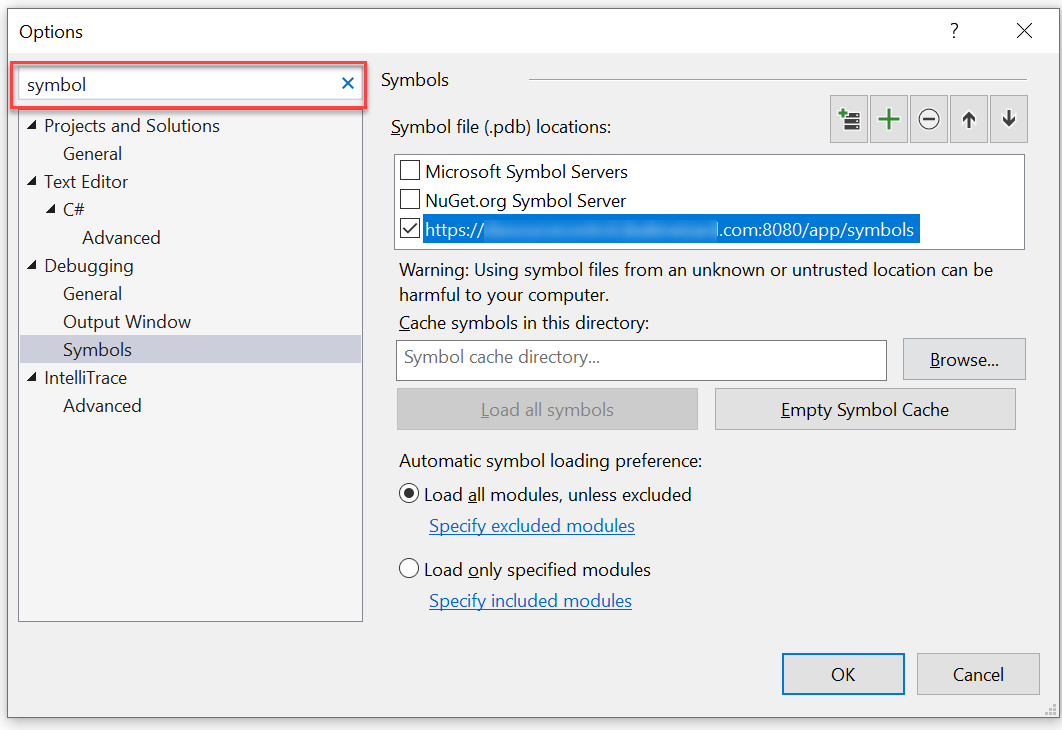
Now when you’re debugging in visual studio you’ll have access to the symbols.
Enable SSO for Snowflake using Azure AD
So you want to enable single sign on for you AD users to Snowflake? There are a bunch of good reasons to do this: it makes managing users easier, deleting a user in AD deletes them in snowflake so you don’t have a laundry list of places to delete a user when users leave.
The process is a 2 sided thing: setting up the Snowflake integration on the AD side and then letting Snowflake know where to authenticate its users.
Azure Side
- Go to azure AD and click on
Enterprise Applicationson the left hand side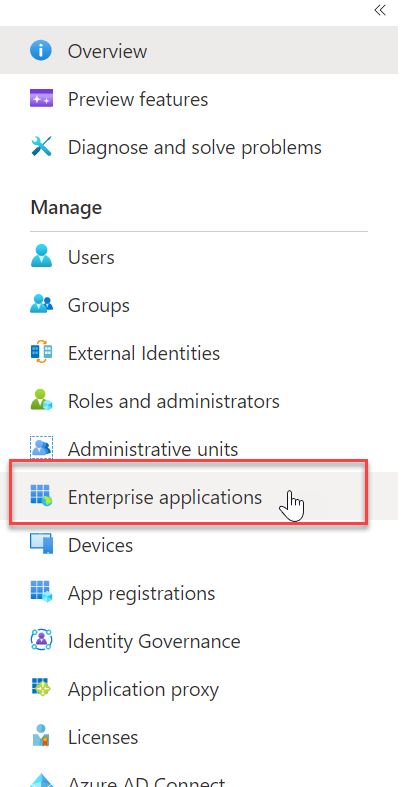
- Click
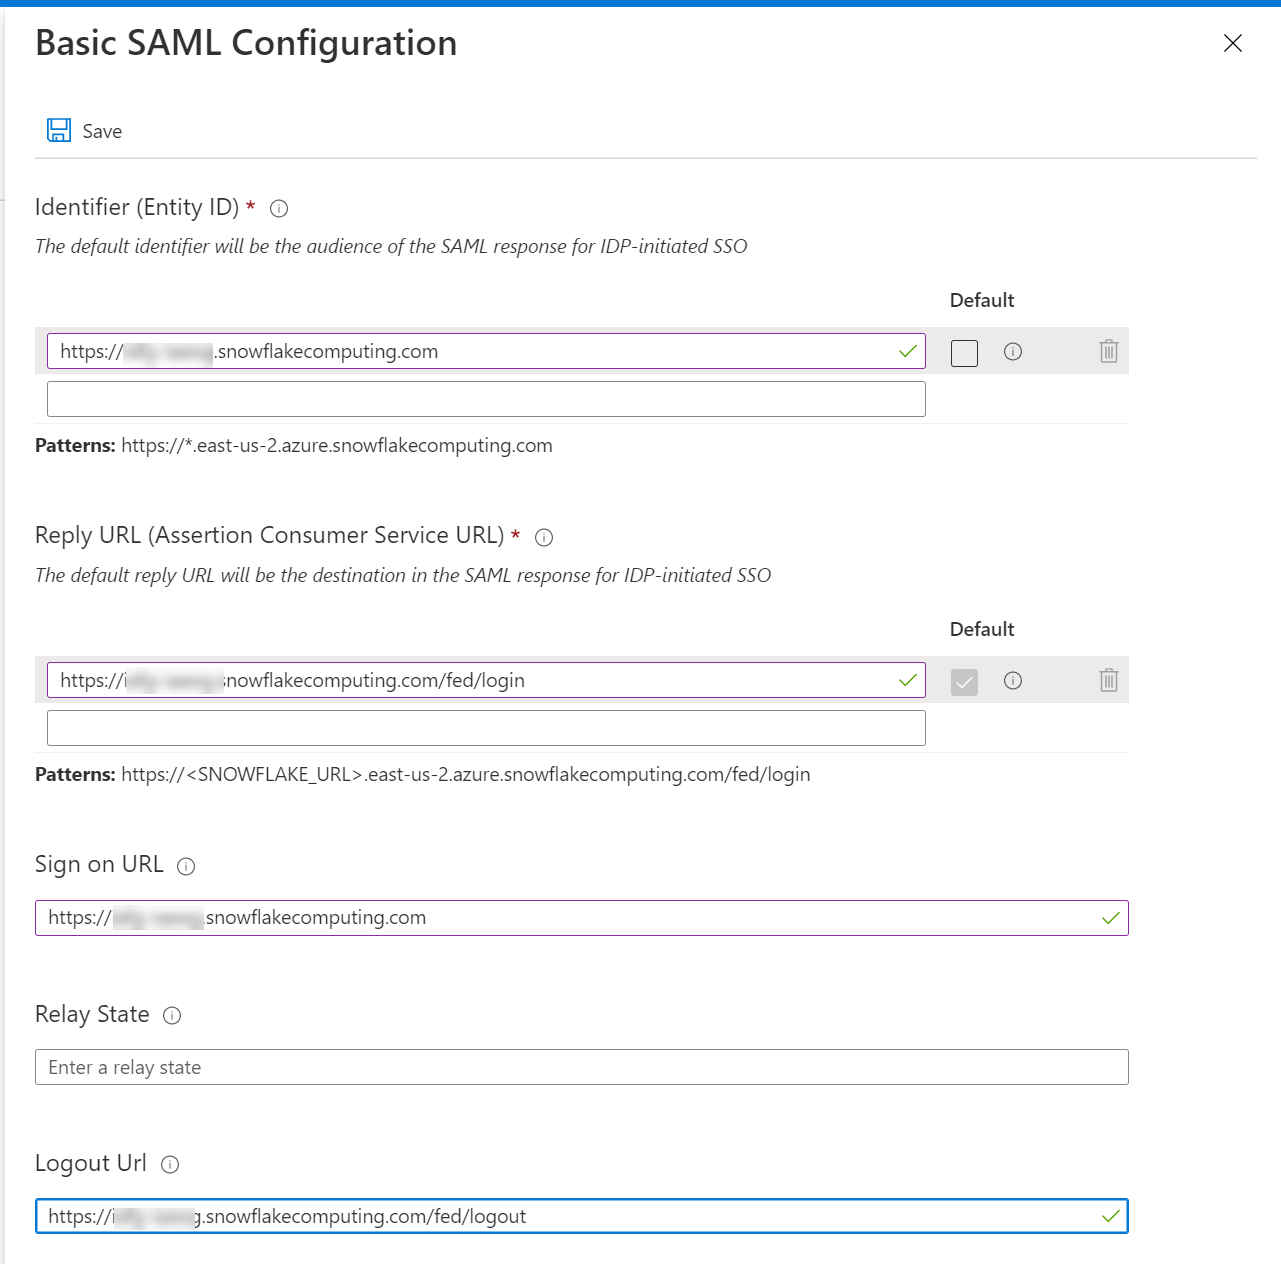
New Applicationand search for Snowflake select it and create it - In there set up the links to your Snowflake tenant for single sign on by selecting Single sign-on on the left
- Fill in the URLs for your snowflake instance. The only thing that you really need to pay attention to is that you’re using the snowflake name on your already created snowflake instance.
- Download the Base64 Certificate from the SAML Signing Certificate section
- Assign a test user to the snowflake integration by clicking on users and groups and adding an existing user
Snowflake Side
- Run this query in snowflake. It adds a saml identity provider and then set up single sign on
use role accountadmin;
alter account set saml_identity_provider = '{
"certificate": "<Paste the content of downloaded certificate from Azure portal>",
"ssoUrl":"<Login URL value which you have copied from the Azure portal, something like https://login.microsoftonline.com/44xxxx25-xxxx-415b-bedc-xxxxxxxxxxxxxx/saml2>",
"type":"custom",
"label":"AzureAD"
}';
alter account set sso_login_page = TRUE;
- Hook up the user you created earlier in AD
CREATE USER simon_timms PASSWORD = '' LOGIN_NAME = 'user@somedomain.com' DISPLAY_NAME = 'Simon Timms';
You should now be able to log in with your AD account. Open up an incognito tab and go to your snowflake instance. In there click on the SSO option and enter your AD credentials.
Automatic Provisioning
Obviously it sucks to provision the users manually in snowflake so you can have AD sync changes over to it. To do this start with snowflake. You’ll need to create a user who can provision users.
create or replace role aad_provisioner;
grant create user on account to role aad_provisioner;
grant create role on account to role aad_provisioner;
grant role aad_provisioner to role accountadmin;
create or replace security integration aad_provisioning
    type = scim
    scim_client = 'azure'
    run_as_role = 'AAD_PROVISIONER';
select system$generate_scim_access_token('AAD_PROVISIONING');
This should give you a long key which you should copy.
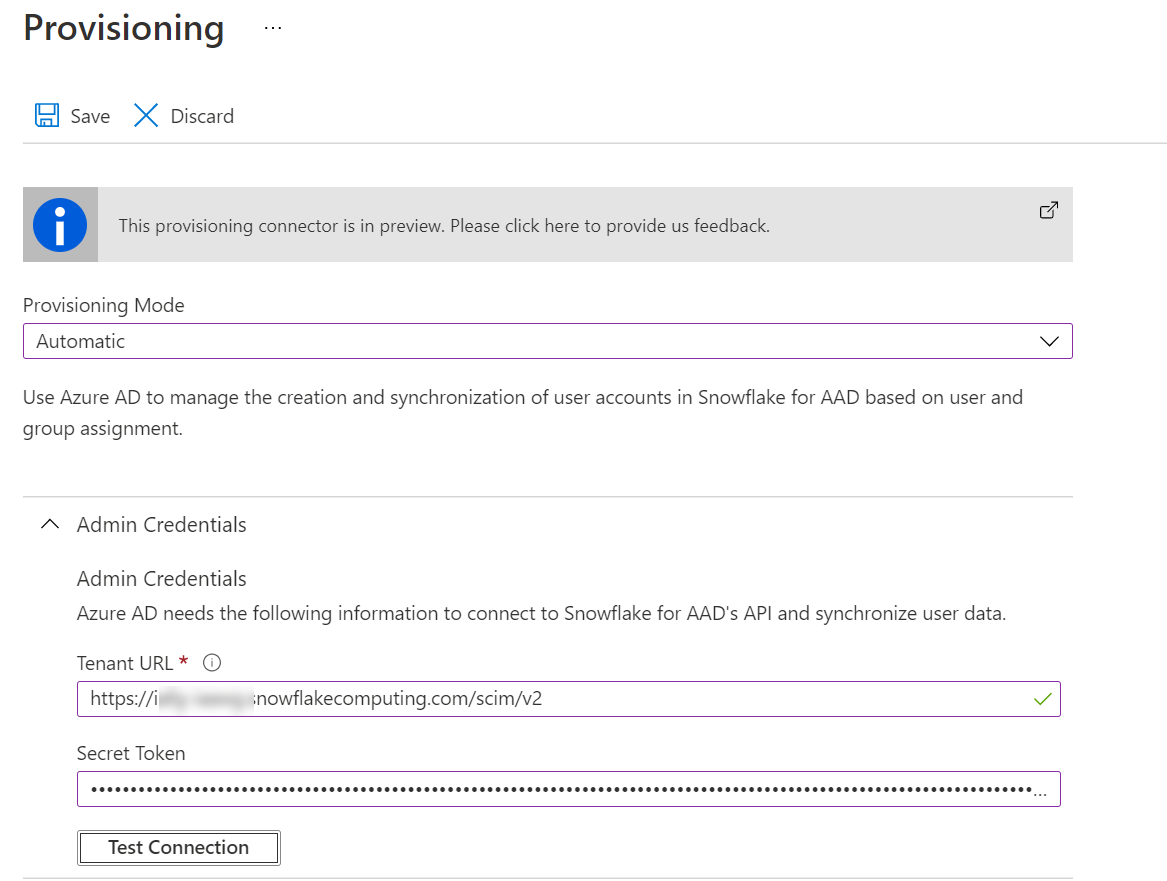
Go back to the AD app and click on Provisioning. In there change over to automatic provisioning. Enter the key in the Secret Token field and in the Tenant Url field enter your usual URL but this time with /scim/v2 on the end of it.
Test the connection and ensure that it can connect properly. With that done you’ll need to turn provisioning status on

Adding Users to the Sync
If you want to add a new user to the synchronizing then go back to the snowflake app under Enterprise Applications in Azure AD. In there click on Users and groups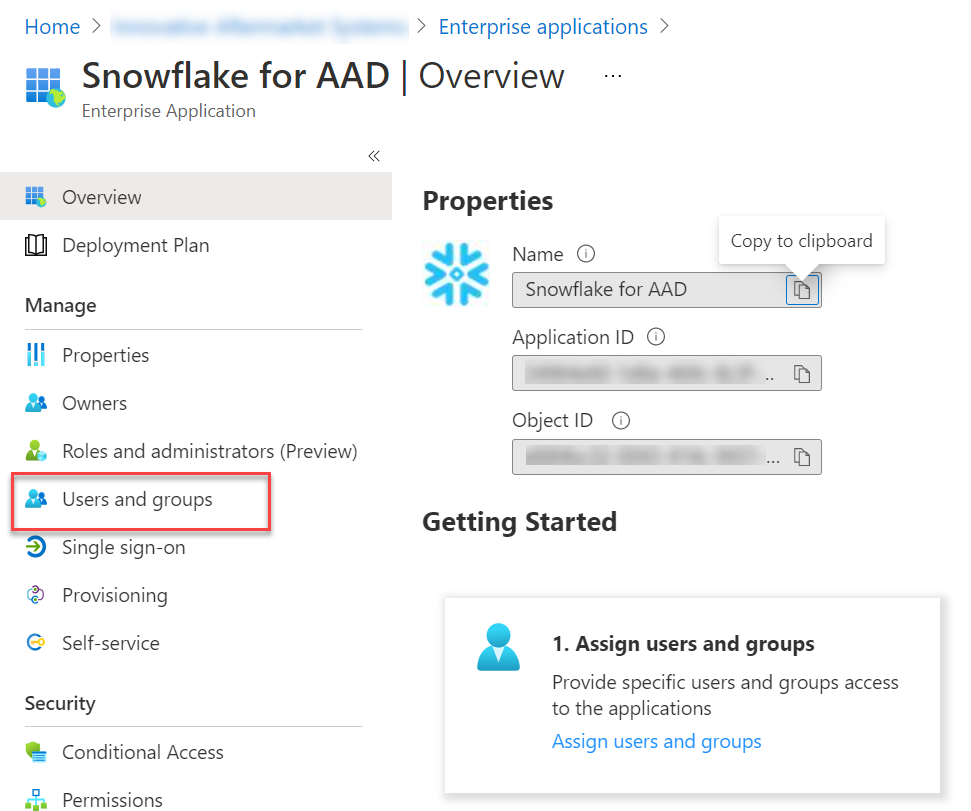
Then on the add users and groups button. In there you can select your user and click Assign. That should be it. It may take a few minutes to sync. You can always check the status of the sync by going to the Provisioning item
Gotchas!
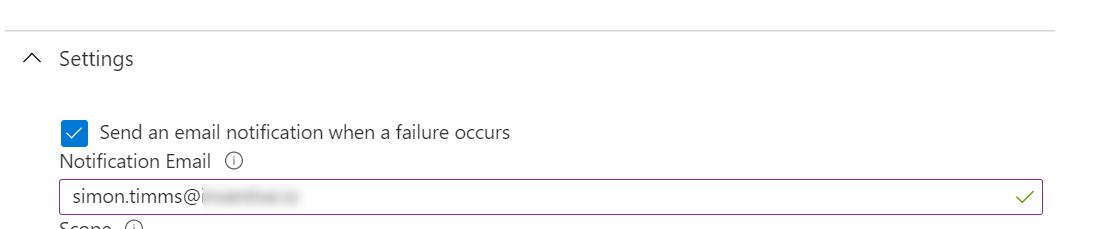
The biggest one here is that the snowflake key used in automatic provisioning only has a lifespan of 6 months. It is almost certainly going to break horribly at that time. You should mitigate this by having the sync job email you if it fails. This can be done in the settings page in Azure
To get a new token you’ll need to log into snowflake and run the following query
select system$generate_scim_access_token('AAD_PROVISIONING');
This will generate a new token and you’ll need to copy it back into Azure. A gotcha inside a gotcha here is that running this command can only be done as ACCOUNTADMIN so you need to select that here: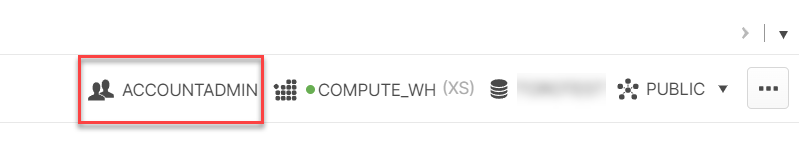
Azure Automation
Azure Automation is a service that allows running small scripts to do automation of tasks inside azure. For instance if you want to scale a database up and down depending on the time of day this is an ideal place to do it.
There are basically 3 concepts in it
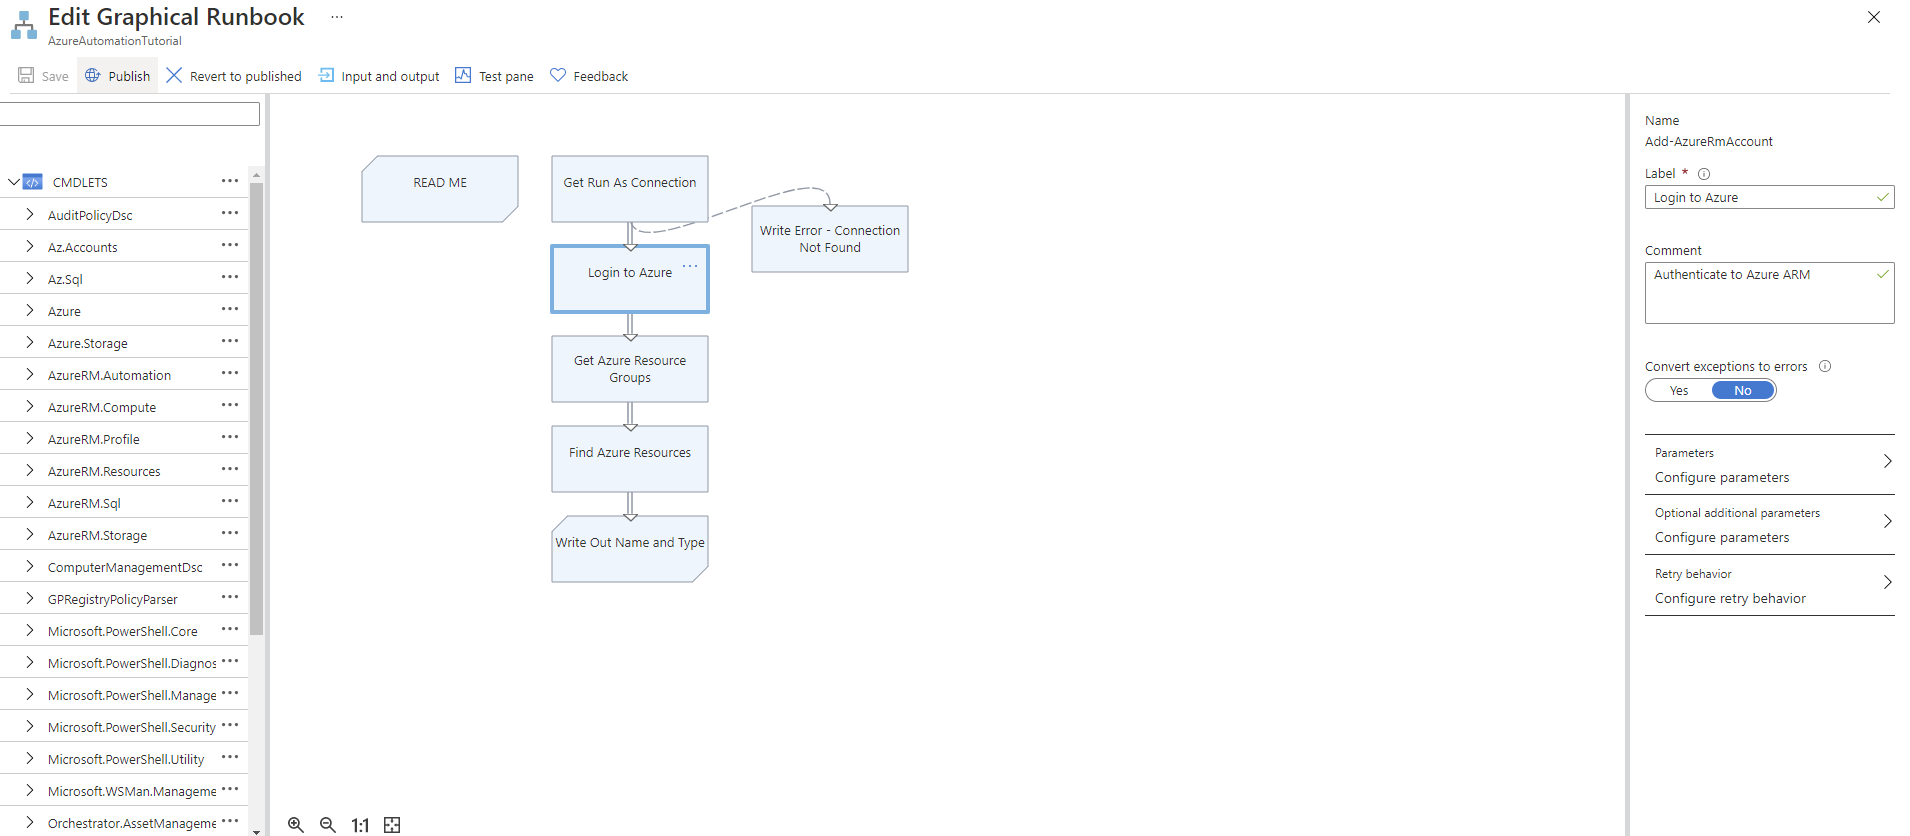
- Runbook - a script that you write and publish from within Azure Automation. The supported languages include Python (2 and 3!) and powershell. There is also a graphical builder which basically just run powershell commandlets
- Jobs - executions of the runbook. These can take parameters and pass them off to a runbook. The job logs what it is doing but the logging is a bit sketchy. You should consider reviewing the json output to see exactly what went wrong with your job instead of relying on the UI.
- Schedule - You can kick off a job at any point in time using a schedule. Schedules allow passing parameters to the jobs.
Powershell Gotchas
For some reason, likely the typical Microsoft support of legacy software, the Azure modules included in powershell by default are the old AzureRM ones and not the newer, more awesome Az modules. You can go to the module gallery to install more modules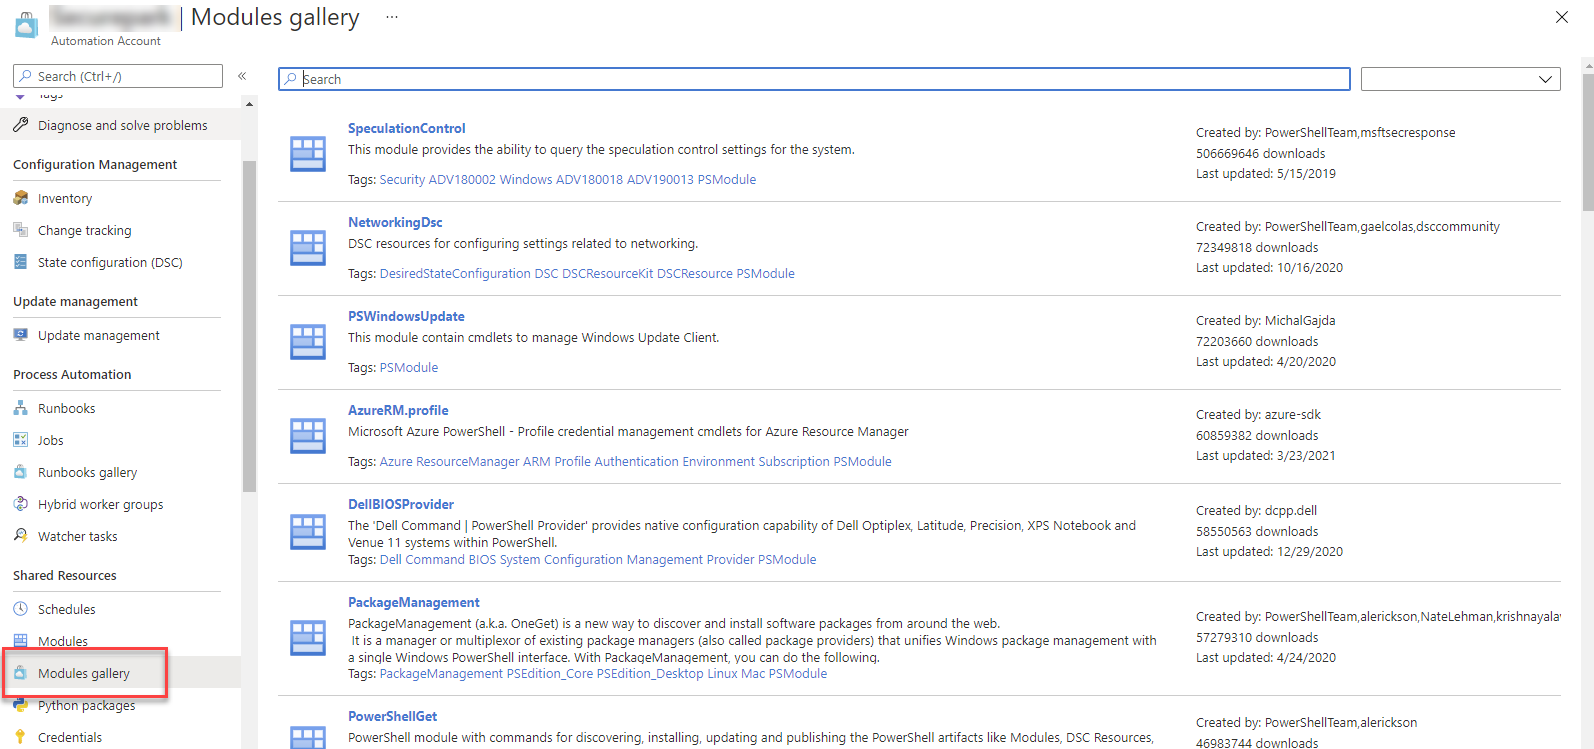
However, little problem with that is that the module installation process doesn’t handle dependencies so if you want to install something like Az.Sql which relies on Az.Account then you need to go install Az.Account first. The installation takes way longer than you’d logically expect so I sure hope you don’t need to install something like Az proper which has 40 dependencies.
Example Script
This script will scale a database to the desired level
Param(
 [string]$ResourceGroupName,
 [string]$ServerName,
 [string]$DatabaseName,
 [string]$TargetEdition,
 [string]$TargetServiceObjective
)

$connectionName = "AzureRunAsConnection"
try
{
    # Get the connection "AzureRunAsConnection "
    $servicePrincipalConnection=Get-AutomationConnection -Name $connectionName

    "Logging in to Azure..."
    Connect-AzAccount `
        -ServicePrincipal `
        -TenantId $servicePrincipalConnection.TenantId `
        -ApplicationId $servicePrincipalConnection.ApplicationId `
        -CertificateThumbprint $servicePrincipalConnection.CertificateThumbprint
}
catch {
    if (!$servicePrincipalConnection)
    {
        $ErrorMessage = "Connection $connectionName not found."
        throw $ErrorMessage
    } else{
        Write-Error -Message $_.Exception
        throw $_.Exception
    }
}


echo "Scaling the database"
Set-AzSqlDatabase -ResourceGroupName $ResourceGroupName -DatabaseName $DatabaseName -ServerName $ServerName -Edition $TargetEdition -RequestedServiceObjectiveName $TargetServiceObjective
echo "Scaling complete"
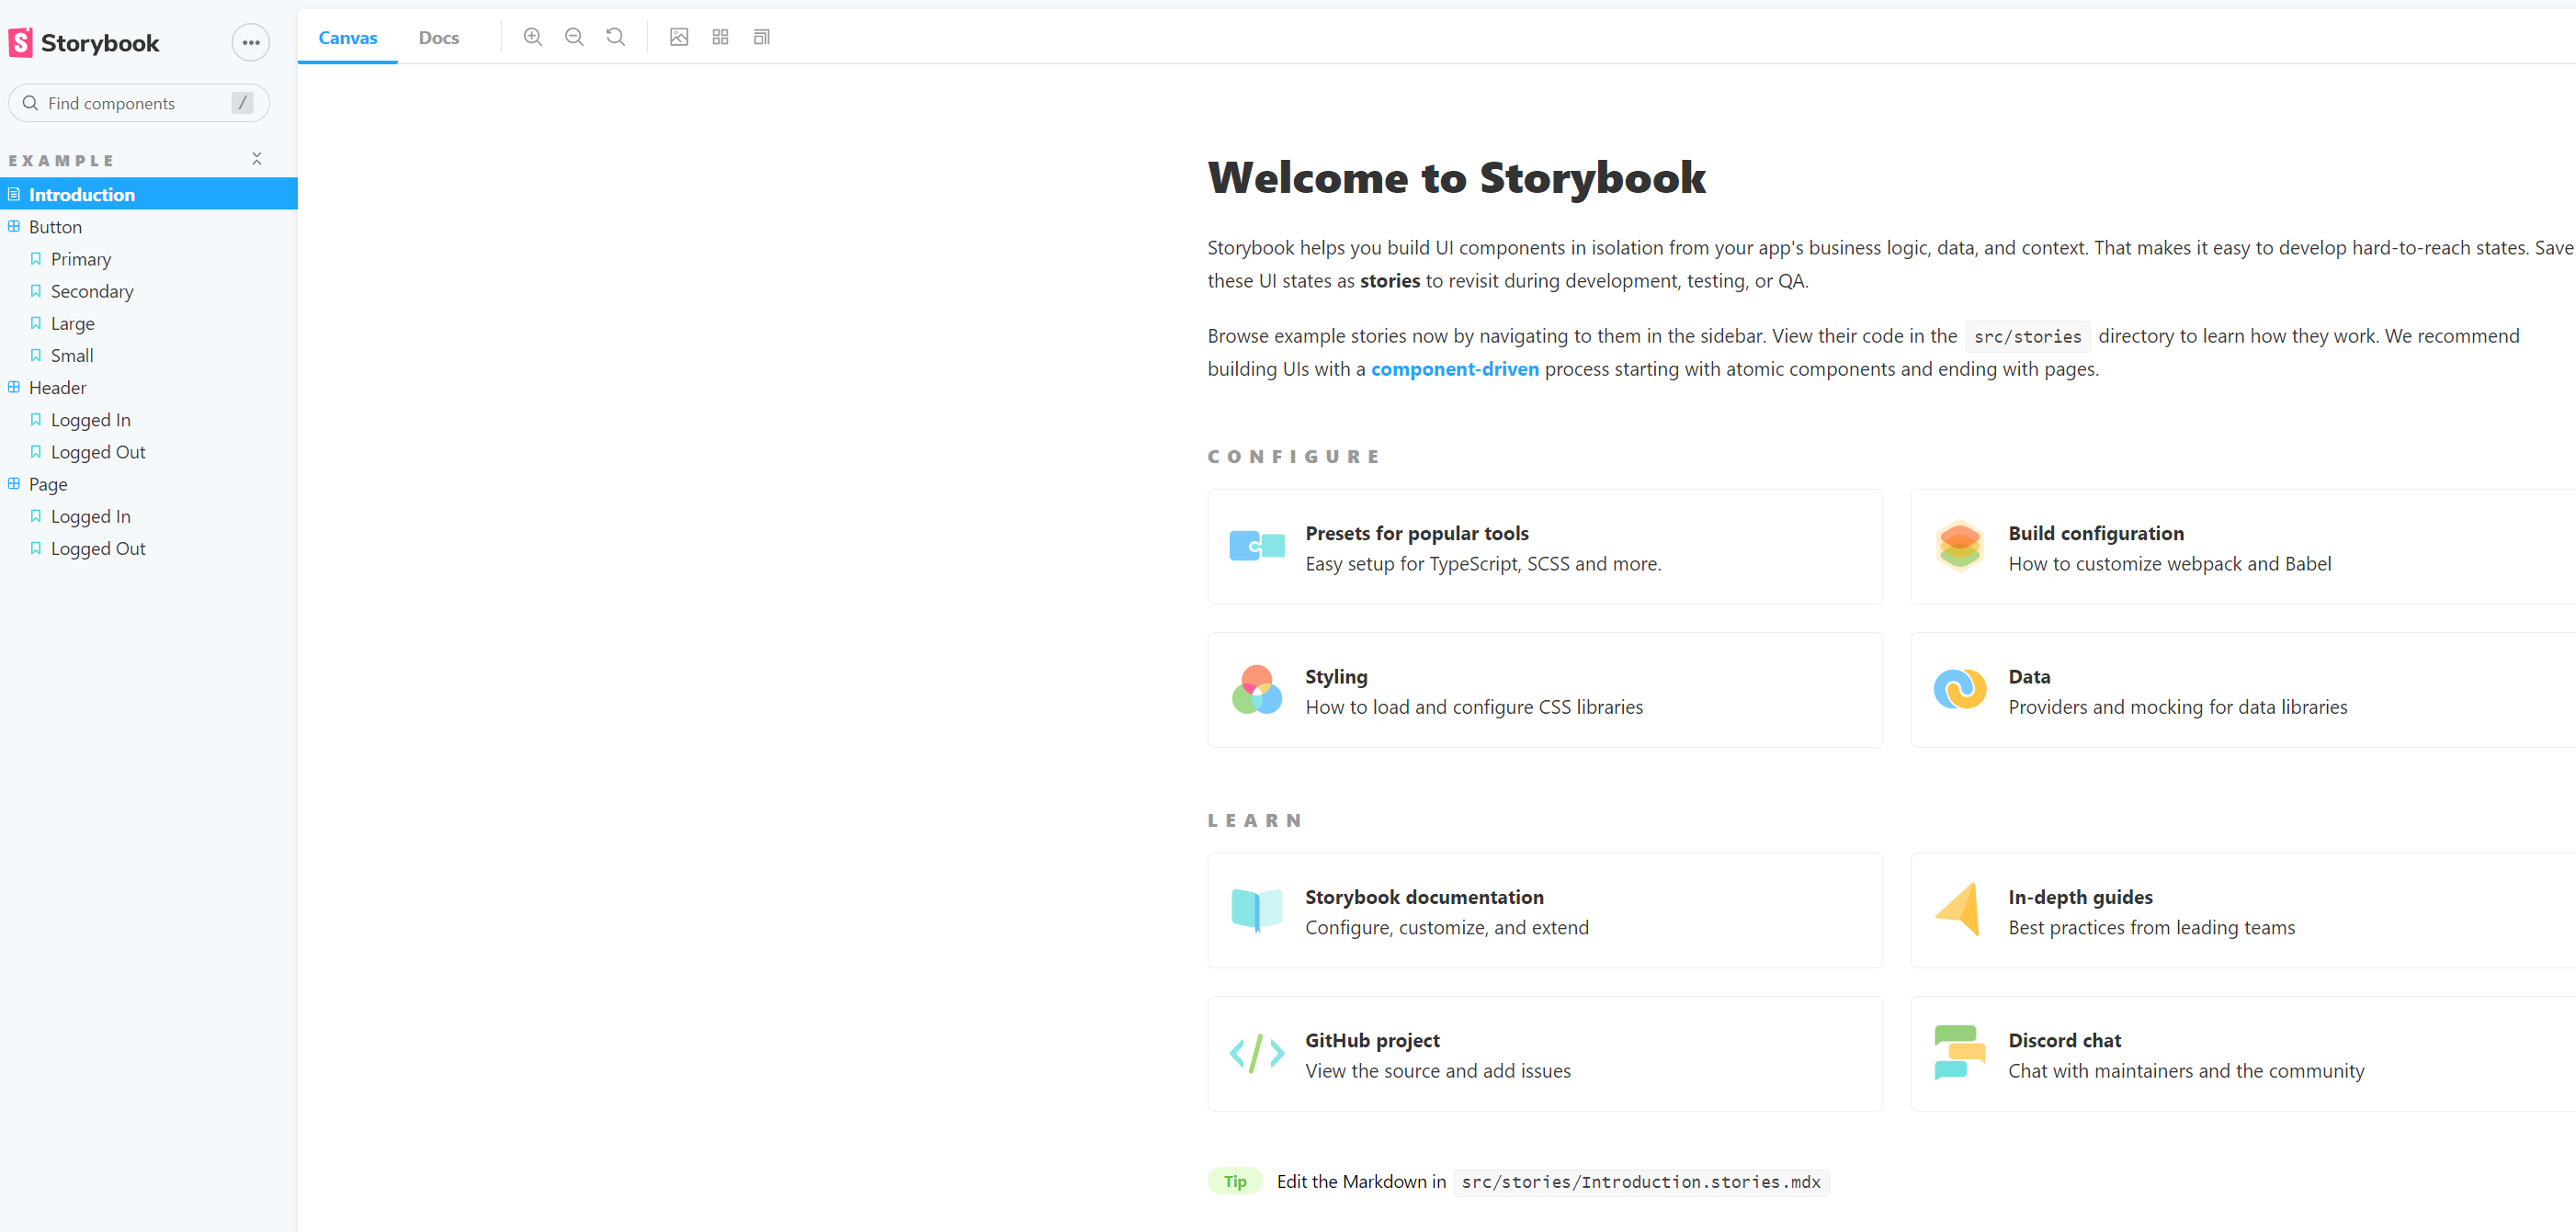
Getting started with Storybook and Vue
- Starting with an empty folder you can run
npx sb init - During the addition you’ll be prompted for the template type - select vue
- If this is brand new then you’ll need to install vue. The template assumes you have it installed already.
npm install vue vue-template-compiler Run storybook with
npm run storybookThis will get storybook running and you’ll be presented with the browser interface for it
Adding Vuetify
- In the project install vuetify
npm install vuetify In the
.storybookfolder add apreview-head.htmlfile. This will be included in the project template. Set the content to<link href="https://cdn.jsdelivr.net/npm/@mdi/font@4.x/css/materialdesignicons.min.css" rel="stylesheet"> <link href="https://cdn.jsdelivr.net/npm/vuetify@2.x/dist/vuetify.min.css" rel="stylesheet">Create a new file called
vuetify_storybook.jsand add to it
import Vue from 'vue';
import Vuetify from 'vuetify'; // loads all components
import 'vuetify/dist/vuetify.min.css'; // all the css for components
import en from 'vuetify/es5/locale/en';

Vue.use(Vuetify);

export default new Vuetify({
    lang: {
        locales: { en },
        current: 'en'
    }
});
In the
.storybookfolder add to thepreview.jsand includeimport { addDecorator } from '@storybook/vue'; import vuetify from './vuetify_storybook'; addDecorator(() => ({ vuetify, template: ` <v-app> <v-main> <v-container fluid > <story/> </v-container> </v-main> </v-app> `, }));This will add vuetify wrapping to the project. You can now just go ahead and us the components in your .vue files. Here is an example:
 <template>
     <div>
         <v-text-field dense label="User name" hint="You can use your email"></v-text-field>
         <v-text-field dense label="Password" hint="You need to use upper case and lower case"></v-text-field>
     </div>
 </template>
 <script>
 module.exports = {
     data: function () {
         return {
         userName: null,
         password: null,
         rememberMe: false,
         };
     },
     computed: {
         isValid: function () {
         return true;
         },
     },
 };
 </script>
Networking
If you’re using a service layer then you an shim that in to prevent making network calls. However that might not be what you want to do so you can instead shim in something to intercept all network calls. This can be done using the mock service worker addon https://storybook.js.org/addons/msw-storybook-addon
To get it working install it
npm i -D msw msw-storybook-addonThen to the preview.js file you can add a hook for it
 import { initializeWorker, mswDecorator } from 'msw-storybook-addon';

 initializeWorker();
 addDecorator(mswDecorator);
Quick Noda Time Conversions
Noda time makes working with timezones, well not a snap but better than dental surgery.
Convert a DateTime and TzDB Timezone to UTC
A TzDB timezone is one that looks like America/Edmonton or, one might presume Mars/OlympusMons
DateTimeZone timezone = DateTimeZoneProviders.Tzdb.GetZoneOrNull(timezoneId);
ZoneLocalMappingResolver customResolver = Resolvers.CreateMappingResolver(Resolvers.ReturnLater, Resolvers.ReturnStartOfIntervalAfter);
var localDateTime = LocalDateTime.FromDateTime(dateTime);
var zonedDateTime = timezone.ResolveLocal(localDateTime, customResolver);
return zonedDateTime.ToDateTimeUtc();
Convert from a UTC to a zoned DateTime
 var local = new LocalDateTime(dateTime.Year, dateTime.Month, dateTime.Day, dateTime.Hour, dateTime.Minute, dateTime.Second);
var tz = DateTimeZoneProviders.Tzdb[timeZoneID];
return local.InZoneLeniently(tz);
But be careful with this one because it might produce weird results around time change periods. If you want to avoid ambiguity or at least throw an exception for it consider InZoneStrictly
Installing Fonts on Windows with Powershell
You’d like to think that in 2021 installing a font would involve just copying it and some advanced AI system would notice it and install it on Windows. Again the future has failed us.
Let’s say you have a folder of TTF fonts you need installing. Just copying them to the c:\windows\fonts directory won’t work. You need to copy them with a magic COM command that is probably left over from when file names in Windows looked like PROGRA~1. I’ve seen some scripts which add the font to the windows registry but I didn’t have much luck getting them to work and they feel fragile should Microsoft ever update font handling (ha!).
Here is a script that will copy over all the fonts in the current directory.
echo "Install fonts"
$fonts = (New-Object -ComObject Shell.Application).Namespace(0x14)
foreach ($file in gci *.ttf)
{
    $fileName = $file.Name
    if (-not(Test-Path -Path "C:\Windows\fonts\$fileName" )) {
        echo $fileName
        dir $file | %{ $fonts.CopyHere($_.fullname) }
    }
}
cp *.ttf c:\windows\fonts\
The fonts don’t seem to get installed using the same file name as they arrive with so that last cp line puts the original files in the fonts directory so you can run this script multiple times and it will just install the new fonts. If you wanted to get cool you could check for a checksum and install fonts where the checksum doesn’t match. Don’t both trying to use CopyHere with the flag 0x14 thinking it will overwrite fonts. That doesn’t work for the font directory.
If you want to check and see which fonts are visible to .NET on the system then you can try
[void] [System.Reflection.Assembly]::LoadWithPartialName("System.Drawing")
(New-Object System.Drawing.Text.InstalledFontCollection).Families