Enable SSO for Snowflake using Azure AD
So you want to enable single sign on for you AD users to Snowflake? There are a bunch of good reasons to do this: it makes managing users easier, deleting a user in AD deletes them in snowflake so you don’t have a laundry list of places to delete a user when users leave.
The process is a 2 sided thing: setting up the Snowflake integration on the AD side and then letting Snowflake know where to authenticate its users.
Azure Side
- Go to azure AD and click on
Enterprise Applicationson the left hand side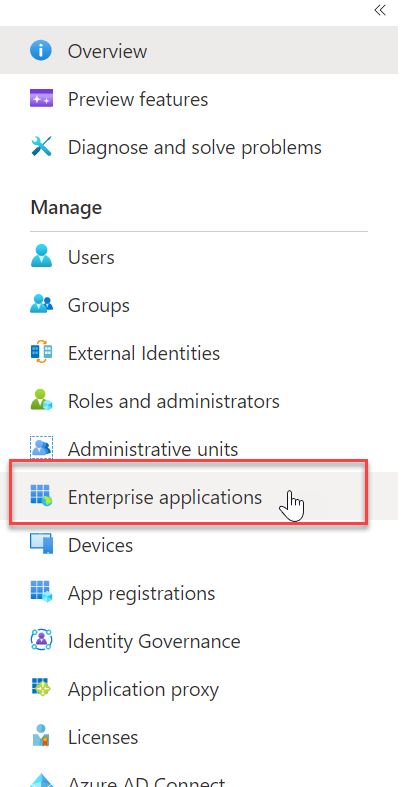
- Click
New Applicationand search for Snowflake select it and create it - In there set up the links to your Snowflake tenant for single sign on by selecting Single sign-on on the left
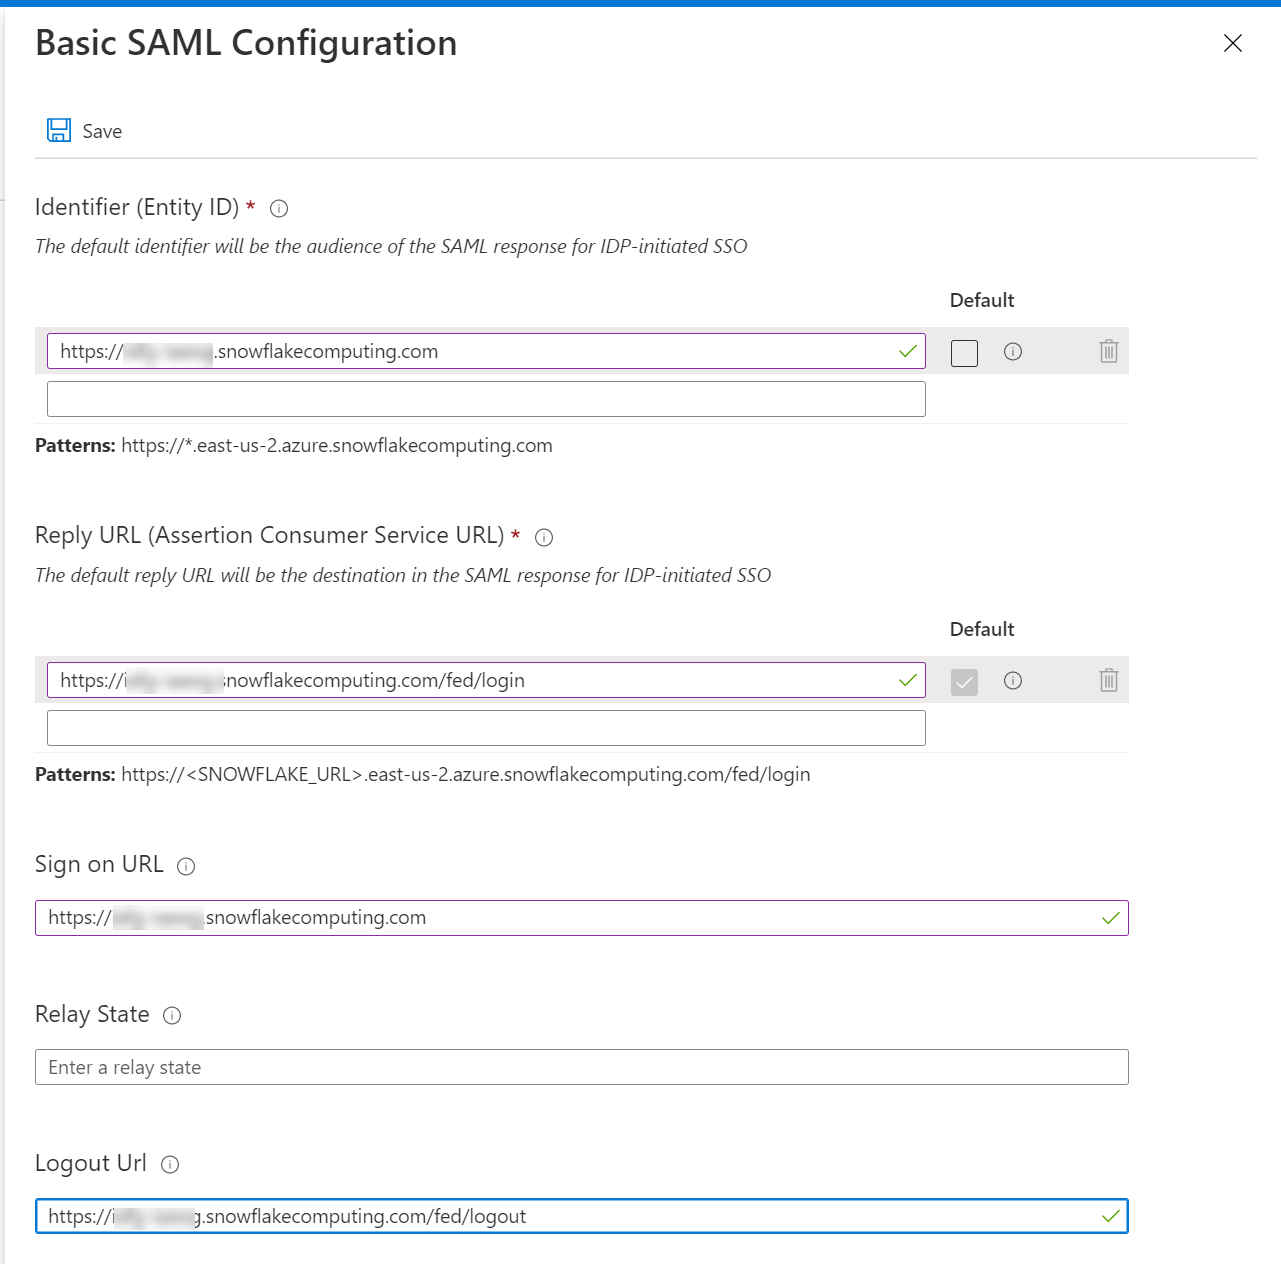
- Fill in the URLs for your snowflake instance. The only thing that you really need to pay attention to is that you’re using the snowflake name on your already created snowflake instance.
- Download the Base64 Certificate from the SAML Signing Certificate section
- Assign a test user to the snowflake integration by clicking on users and groups and adding an existing user
Snowflake Side
- Run this query in snowflake. It adds a saml identity provider and then set up single sign on
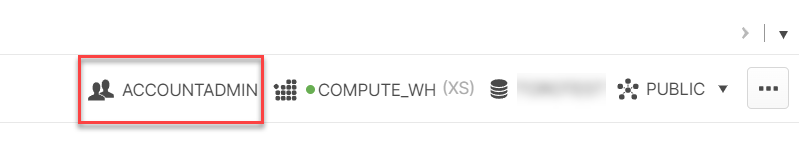
use role accountadmin;
alter account set saml_identity_provider = '{
"certificate": "<Paste the content of downloaded certificate from Azure portal>",
"ssoUrl":"<Login URL value which you have copied from the Azure portal, something like https://login.microsoftonline.com/44xxxx25-xxxx-415b-bedc-xxxxxxxxxxxxxx/saml2>",
"type":"custom",
"label":"AzureAD"
}';
alter account set sso_login_page = TRUE;
- Hook up the user you created earlier in AD
CREATE USER simon_timms PASSWORD = '' LOGIN_NAME = 'user@somedomain.com' DISPLAY_NAME = 'Simon Timms';
You should now be able to log in with your AD account. Open up an incognito tab and go to your snowflake instance. In there click on the SSO option and enter your AD credentials.
Automatic Provisioning
Obviously it sucks to provision the users manually in snowflake so you can have AD sync changes over to it. To do this start with snowflake. You’ll need to create a user who can provision users.
create or replace role aad_provisioner;
grant create user on account to role aad_provisioner;
grant create role on account to role aad_provisioner;
grant role aad_provisioner to role accountadmin;
create or replace security integration aad_provisioning
    type = scim
    scim_client = 'azure'
    run_as_role = 'AAD_PROVISIONER';
select system$generate_scim_access_token('AAD_PROVISIONING');
This should give you a long key which you should copy.
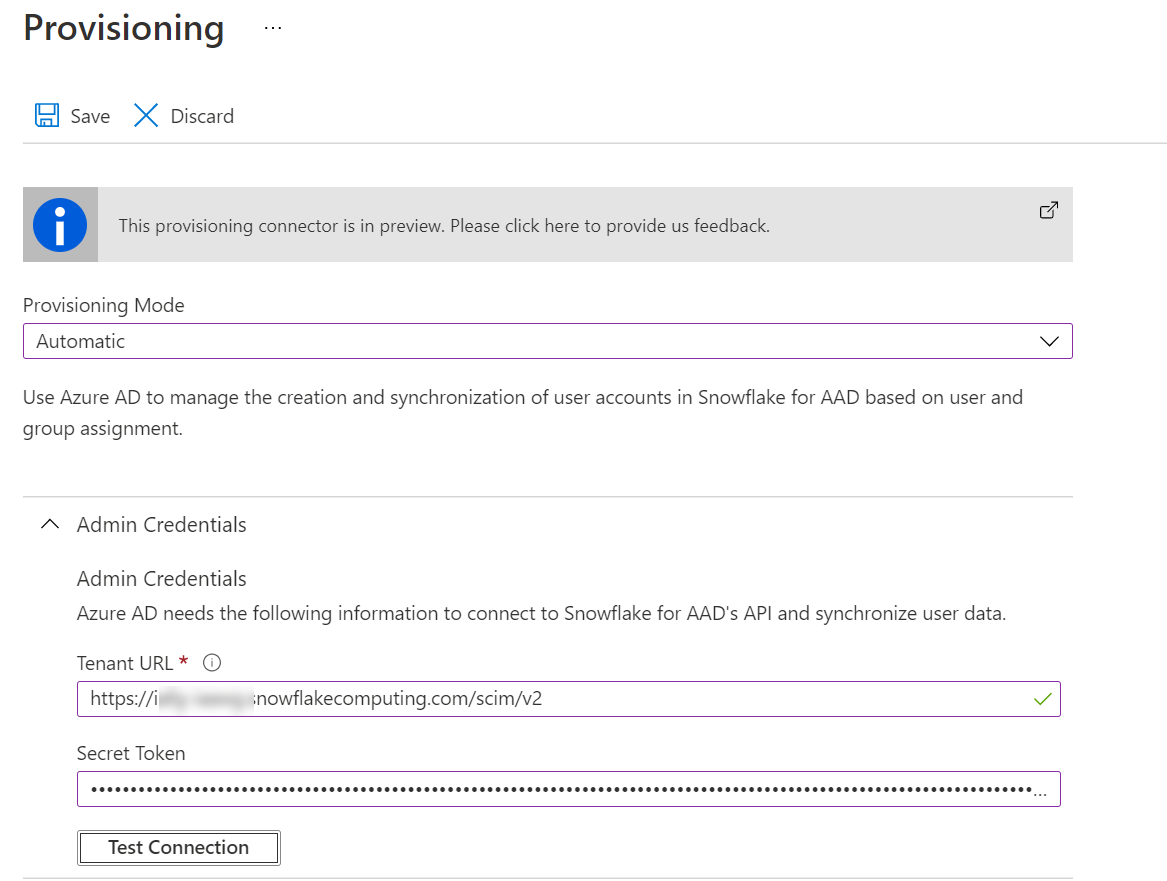
Go back to the AD app and click on Provisioning. In there change over to automatic provisioning. Enter the key in the Secret Token field and in the Tenant Url field enter your usual URL but this time with /scim/v2 on the end of it.
Test the connection and ensure that it can connect properly. With that done you’ll need to turn provisioning status on

Adding Users to the Sync
If you want to add a new user to the synchronizing then go back to the snowflake app under Enterprise Applications in Azure AD. In there click on Users and groups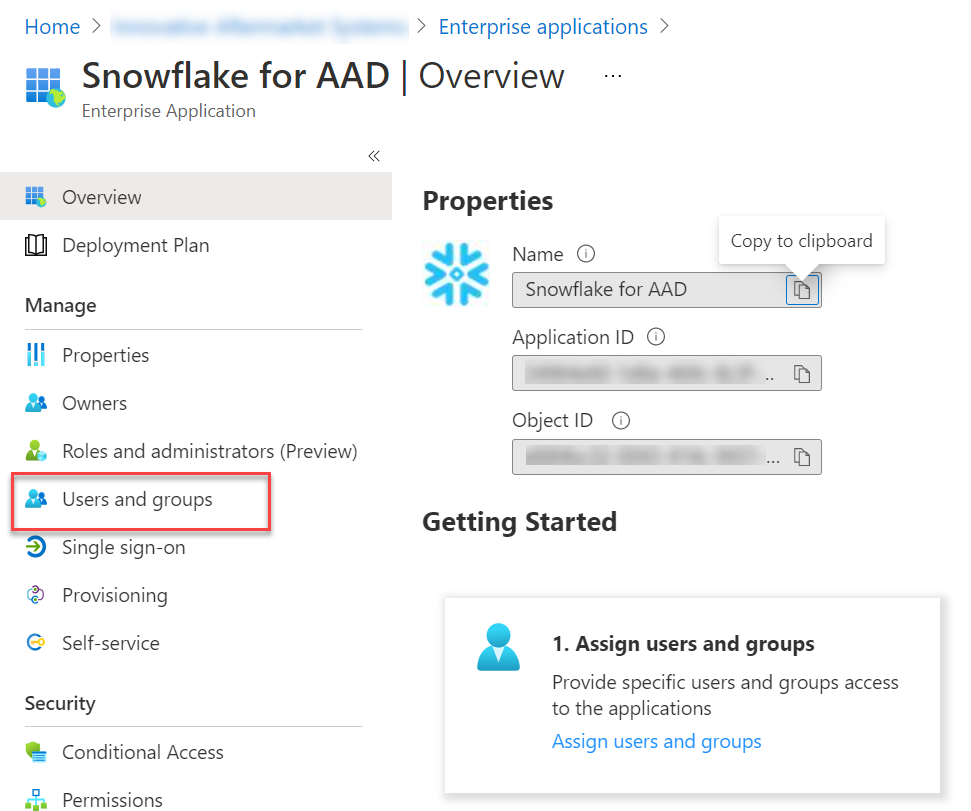
Then on the add users and groups button. In there you can select your user and click Assign. That should be it. It may take a few minutes to sync. You can always check the status of the sync by going to the Provisioning item
Gotchas!
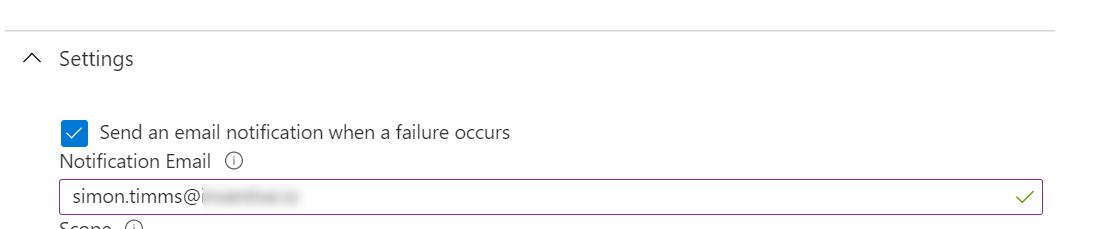
The biggest one here is that the snowflake key used in automatic provisioning only has a lifespan of 6 months. It is almost certainly going to break horribly at that time. You should mitigate this by having the sync job email you if it fails. This can be done in the settings page in Azure
To get a new token you’ll need to log into snowflake and run the following query
select system$generate_scim_access_token('AAD_PROVISIONING');
This will generate a new token and you’ll need to copy it back into Azure. A gotcha inside a gotcha here is that running this command can only be done as ACCOUNTADMIN so you need to select that here: