Azure Data Factory - a rapid introduction
Azure is huge. There are probably a dozen ways to host a website, a similar number of different data storage technologies, tools for identity, scaling, DDoS protection - you name it Azure has it. With that many services it isn’t unusual for me to find some service I didn’t even know existed. Today that service is Data Factory. Data factory is a batch based Extract, Transform and Load(ETL) service which means that it moves data between locations. I mention that it is batch to distinguish it from services which are online and process events as they come in. Data Factory might be used to move data between a production database and the test system or between two data sources.
In most cases I’d recommend solutions which were more tightly integrated into your business processes than copying data between databases. It is easier to test, closer to real time and easier to update. However, moving to event based systems can be long and difficult so there is certainly a niche for Data Factory. A good application might be migrating data from a service you don’t own to your internal database - the external system is unlikely to have data change notifications you could use to drive data population. Azure Data Factory plays in the same space that SQL Server Integration Services played in the past - in fact you can build your Azure Data Factory pipeline in SSIS and simply upload it.
Let’s take a look at loading some data from an Azure SQL database, and putting it into Cosmos DB. I’ve chosen these two systems but there are literally dozens of different data sources and destinations you can use at the click of a mouse. They are not limited to Microsoft offerings, either. There are connectors for Cassandra, Couchbase, MongoDB, Google BigQuery even Oracle.

The first step is to create a new data factory in Azure. This is as simple as searching for data factory in the Azure portal and clicking create. A few settings are required such as the name and the version. For this I went with v2 because it is a larger number than v1 and ergo way better. I’m pretty sure that’s how numbers work. With the factory created the next step is to click on Author and Monitor.

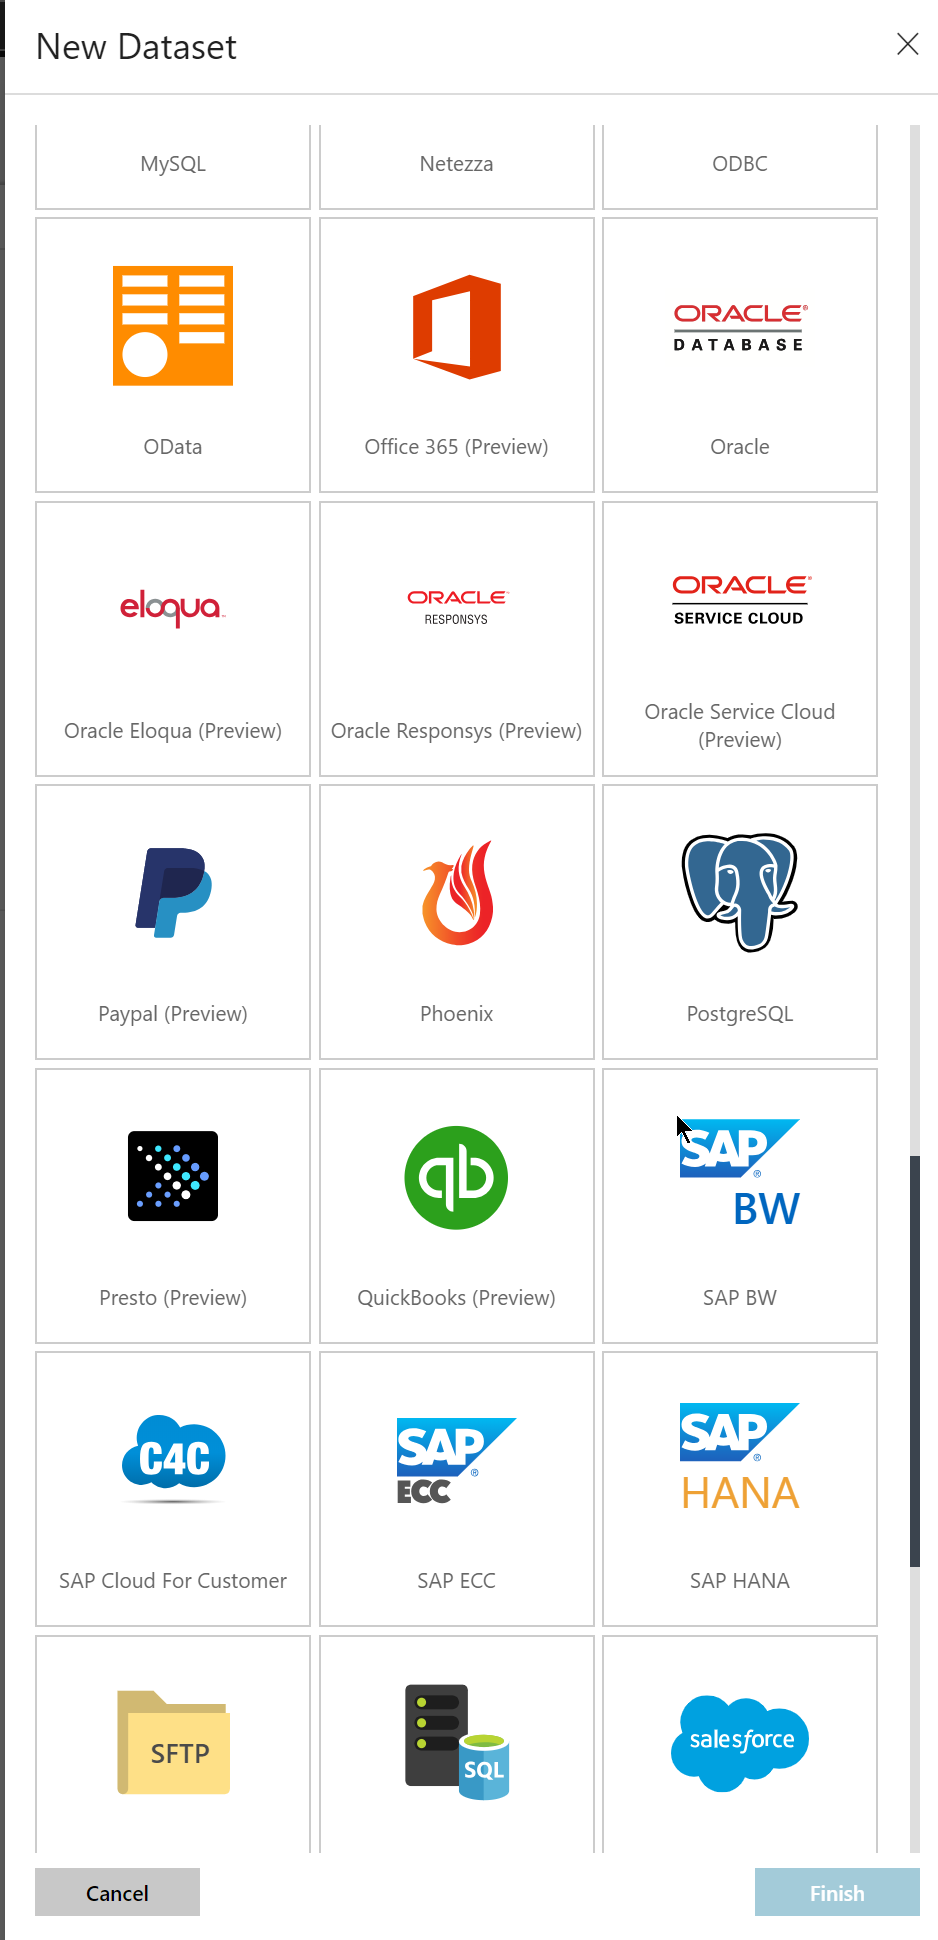
This opens up a whole editor experience in a new tab. It is still roughly styled like the portal so it isn’t as jarring as using the man styling jumble that is AWS’ console. In the left gutter click on the little + symbol to create a new data set.

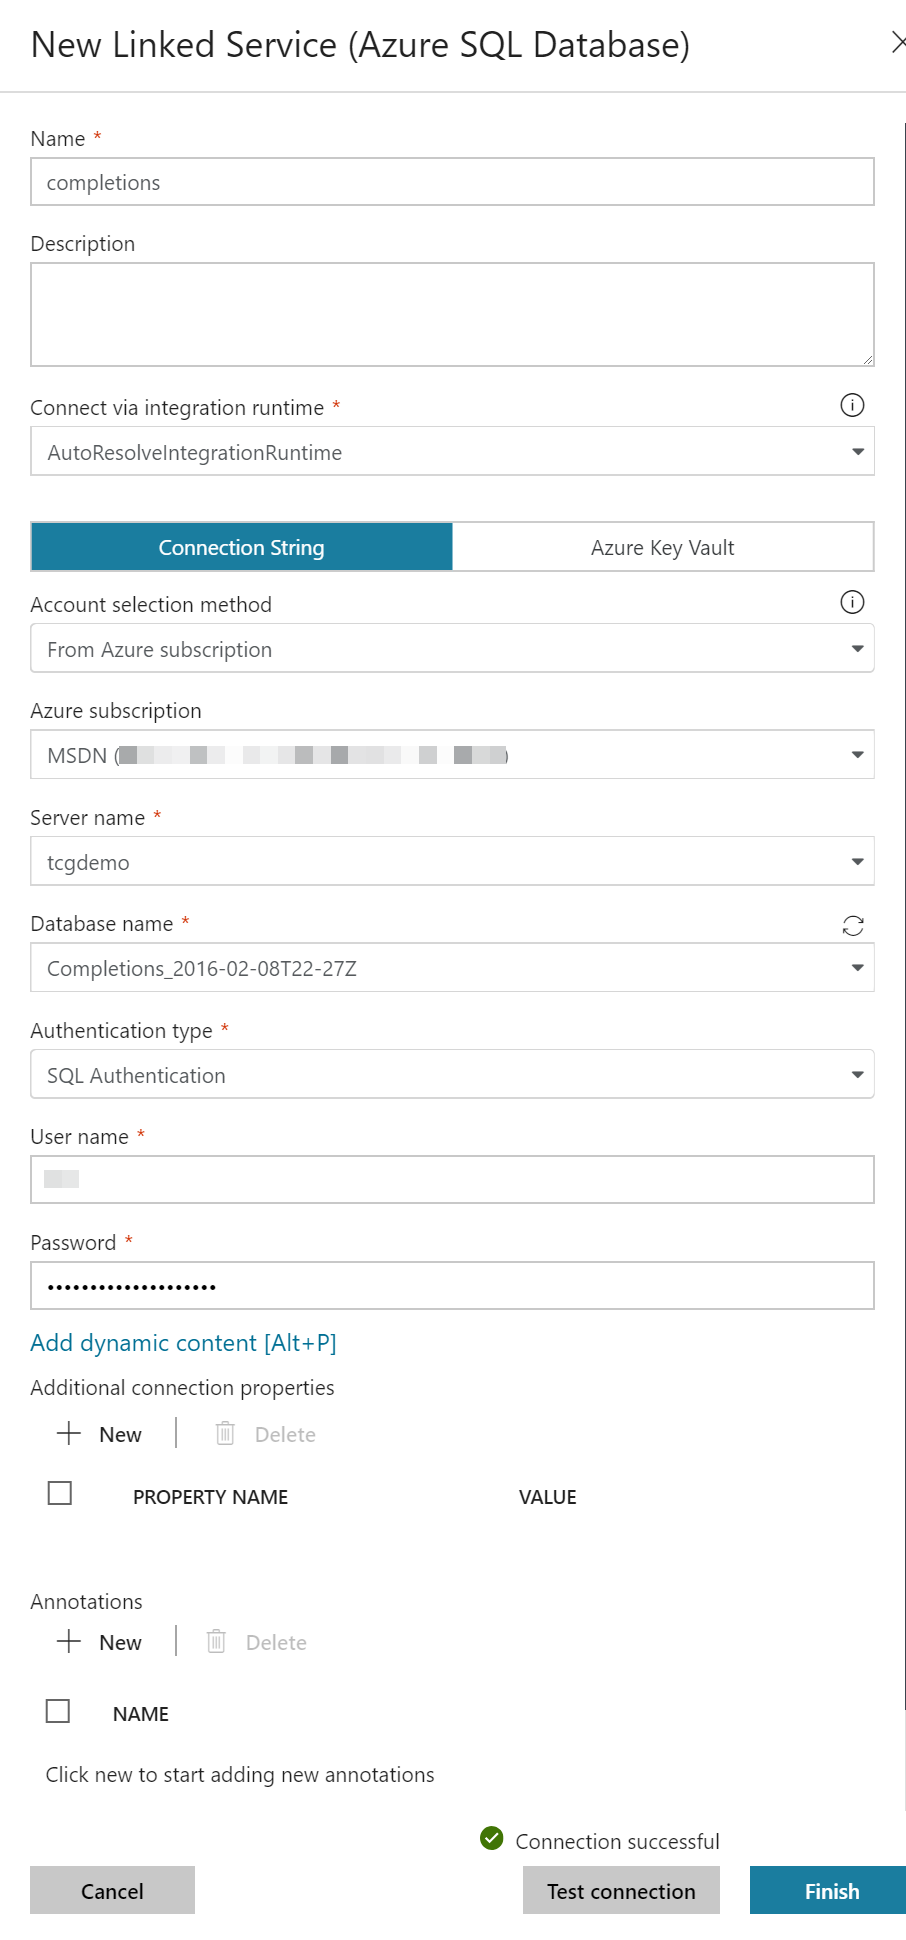
I found myself an old backup database I had kicking around still on my Azure account to be the source of data for this experiment. It is a database of data related to the construction of some oil extraction facility somewhere. To protect the innocent I’ve anonymized the data a little. We’ll start by adding this as a source for the data factory. Select Azure SQL as the source and then give it a name in the general pane. Under connection set up a new linked service. This is what holds our data connection information so multiple different data sets can use the same linked service if you wanted to pull from multiple tables. In the linked service set up you can select an existing database from the drop downs and enter the login information.
With the linked service set up you can select the table you’ll be using for the schema information and even preview the data.

Next follow a similar procedure for setting up the cosmos data source. My cosmos data source was brand new so it didn’t have any document from which data factory could figure out the schema. This meant that I had to go in and define one in the data source.

With the two data sources in place all that is needed now is to copy the data from one to another. Data factory is obviously a lot more than being able to copy data between data bases but to do any manipulation of the data you really need to pull in other services. For instance you can manipulate the data with data bricks or HD Insights and, of course, you can analyze the data with Azure ML. What is missing, in my mind, is a really simple way of manipulating fields, concatenating them together, splitting them up that sort of thing. Because data factory is designed to scale it relies on other services which can also scale instead of internalizing too much. On one hand this is good because is formalizes your scaling and makes you think about what you do if you have huge quantities of data. On the other hand is raises the knowledge bar for entry quite high.
Originally this article was going to cover manipulating data but the difficulty meant that that content had to be pushed off to another post.
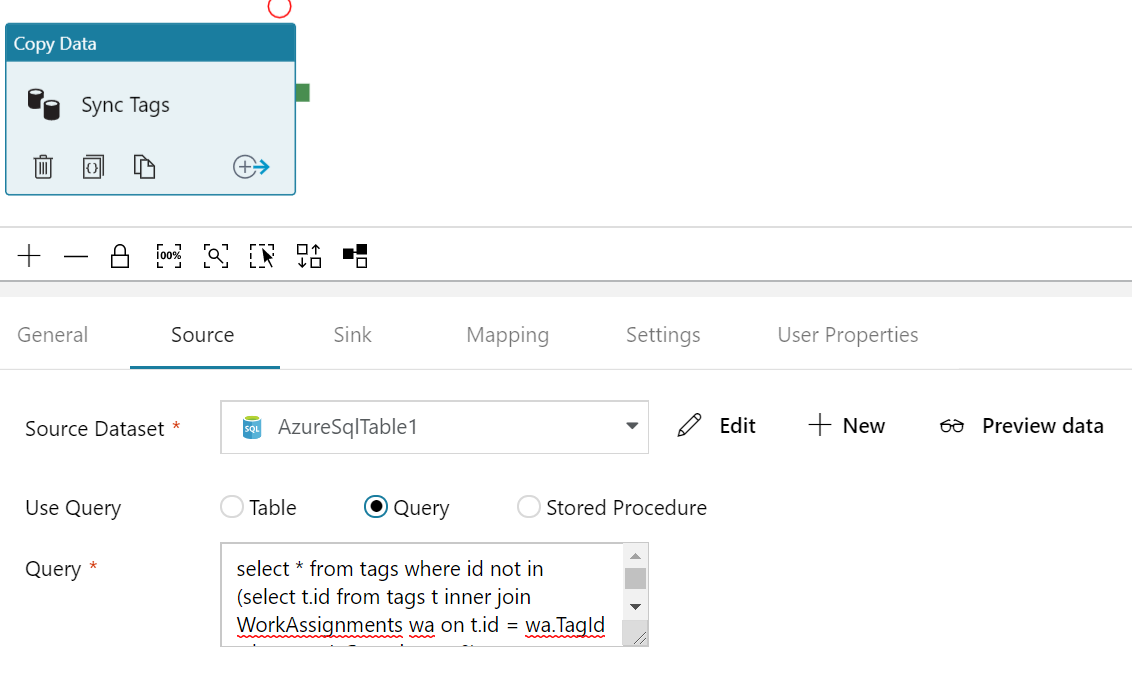
Returning to the problem at hand the copy task is added by adding a new pipeline. Within that pipeline we add a copy data task by dragging it to the canvas. In the task we configure the source as being the SQL database and, at the same time, select a query. My query filters for tags which are complete (you don’t really need to know what that means).

Next set up a destination sink as the cosmos db. Finally set up the mapping. Mappings determine which fields go where: from the source into the destination. Because we’ve gone to the trouble of ensuring field names are the same over our two data sets simply clicking Import Schemas is enough to set up the mappings for us. You may need to manually map fields if you’re renaming as part of the copy.
Pipelines are built by coupling together various tasks to copy, filter, sort and otherwise manipulate data. Each task has a success, completion and failure output which can be wired to the next task allowing you to build pretty complex logic. Of course as with all complex logic it is nice to have automated tests around it. This is a failing of data factory - it is difficult to test the workflow logic.
The set up of the pipeline is now complete. To start using it you first need to publish it which is done by clicking on the Publish All button. Publishing takes a moment but once it is done testing the integration is as simple as clicking on trigger and going down to Trigger Now. Within a few seconds I was able to jump to my cosmos and find it filled with all the records from SQL. It was quick and easy to set up. What’s really nice too is that the pipeline can easily be scheduled.
Data factory is not the right solution for every project. I’d actually argue that it isn’t the right solution for most projects but it is a good stop gap until you can move to a more online version of data integration using something like change events and functions. Of course that assumes you have infinite resources to improve your projects…